
Open source school ERP
How to Set Up an Open-Source School ERP
A practical overview of setting up an open-source school ERP, from choosing a maintained project on GitHub to hosting, installation, security, backups and keeping it updated, so a school can decide whether it has the time and skills to run one.
The Onflows team4 min read
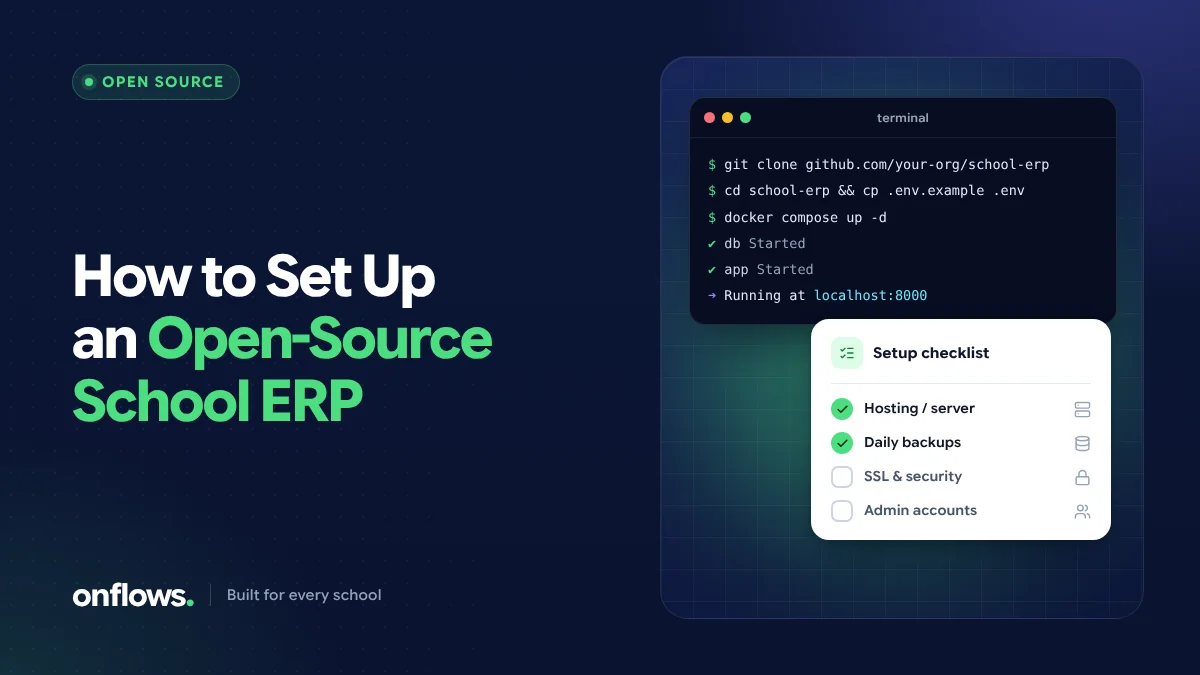
Open-source school ERPs are free to download and give a school full control over its system. The trade-off is that the school becomes responsible for everything a vendor would otherwise do. This guide walks through what setting one up involves, so you can decide whether it is right for you before you start.
It is an overview, not a manual for one product. Every project has its own installation guide; follow it.
Step 1: Choose a maintained project
Start with the project, not the download. Look at its repository (most open source school management systems are on GitHub or GitLab) and check:
- Recent activity: commits and releases in the last few months.
- Issues: are reported problems answered?
- Documentation: is there a current installation guide?
- Community: a forum or chat where other schools help each other.
- Fit: does it support your board's grading, your terms and your language?
Our list of free school management software includes several long-standing open-source projects.
Step 2: Decide where it will run
Most open-source school ERPs are web applications that need a web server, a database and a scripting runtime (often PHP or Python). You have three options:
- A cloud server (a virtual private server from a hosting provider). The most common choice: it is reachable from anywhere and you are not responsible for hardware.
- A server in the school. Possible, but it needs power backup, a fixed internet connection for remote access, and someone on site.
- A desktop computer for testing. Fine for trying the software, not for running a school.
People often search for free school management software for Windows 10. Many open-source school systems can be tried on Windows using a local server stack or containers, but for real use they are usually run on a Linux server. If you want something that simply works on your existing Windows computers, a browser-based hosted system is the easier route.
Step 3: Install it
Typical steps, which vary by project:
- Create the server and secure it (updates, a firewall, a non-root user).
- Install the web server, database and runtime the project requires.
- Download the code from the project's repository, using a tagged release rather than the latest development version.
- Create the database and a dedicated database user.
- Run the project's installer and create the first administrator account.
- Point a domain or subdomain at the server and set up HTTPS with a certificate.
Containers (for example with Docker) can make steps 2 to 4 simpler if the project provides them.
Step 4: Configure it for your school
- the academic year, terms and holidays,
- classes, sections and subjects for your board,
- grading scales and report card layouts,
- staff accounts and their roles and permissions,
- fee heads and structures, if the system handles fees.
Then import your student roll, after cleaning it (see moving your school to a new ERP).
Step 5: Secure it
This is the step most often skipped, and it matters most, because the system holds children's data.
- Use HTTPS everywhere.
- Give every person their own account and the least access their job needs.
- Change all default passwords and remove sample accounts.
- Keep the server's operating system and the application updated.
- Restrict database access to the server itself.
Our post on school data security warning signs has a checklist.
Step 6: Back it up, and test the backup
Set up automatic daily backups of the database and uploaded files, stored somewhere other than the server. Then restore a backup to a test server, at least once a term. A backup that has never been restored is not a backup.
Step 7: Keep it updated
Open-source projects release fixes, including security fixes. Someone must:
- watch for new releases,
- read the release notes,
- test the update on a copy,
- apply it to the live system.
Budget this time every month.
Is open source right for your school?
It is a good fit if you have, or can hire, someone comfortable with servers, and you want full control or deep customisation. It is a poor fit if nobody in the school can run a server; in that case the time and risk usually cost more than a hosted plan.
If you would rather not run a server at all, Onflows' Community plan is free with no time limit for schools of up to 200 students, hosted, backed up and updated for you. See pricing.
Frequently asked questions
Where can I download an open source school ERP?
From the project's own website or its public repository on GitHub or GitLab. Avoid third-party download sites, which may bundle unwanted software.
Do I need a developer to run an open-source school ERP?
You need someone comfortable with servers to install, secure, back up and update it. Customising it for your board may need a developer.
Can I run it on Windows 10?
Usually for testing, using a local server stack or containers. For running a school, a Linux server or a hosted service is more reliable.
Prefer not to run a server? Create your school on Onflows, free and hosted.
Topics: Open source school ERP, Open source on GitHub, School software for Windows, Self-hosting